Set up an S3 Bucket Policy
Last updated: November 4, 2022
When you place an order using the ARD API, the tiles and accompanying data will be written to AWS S3 bucket you specify in the request. In order to deliver the ordered files, Maxar needs permission to write data to your S3 bucket. To grant "write" permission, you'll need to add a bucket policy.
Note: Access granted by this policy is limited to the ability to write objects to the bucket. Maxar will not have access to read or edit data in the bucket.
These instructions describe setting up a bucket policy using the AWS S3 Management Console. The SDK and CLI have commands that simplify this process.
SDK users: see the SDK Quickstart
CLI users: see max-ard storage init
Prerequisites
If you haven't already set up an S3 bucket to use for ARD deliveries, you'll need to create one. See create an S3 bucket.
Grant Maxar ARD "write" access to your bucket with an S3 bucket policy
To add a bucket policy, you'll first copy the bucket policy template from this document (below) to your clipboard, and then paste it to the bucket policy box in the S3 Management Console. Then you'll edit the policy to add your bucket name as the resource.
Follow these steps to complete this action. You'll want to have this documentation and the S3 Management Console open on your screen.
1. Sign into the AWS Management console with your AWS credentials.
2. From the console, select the name of the S3 bucket. You may need to click a link that says "s3" first.
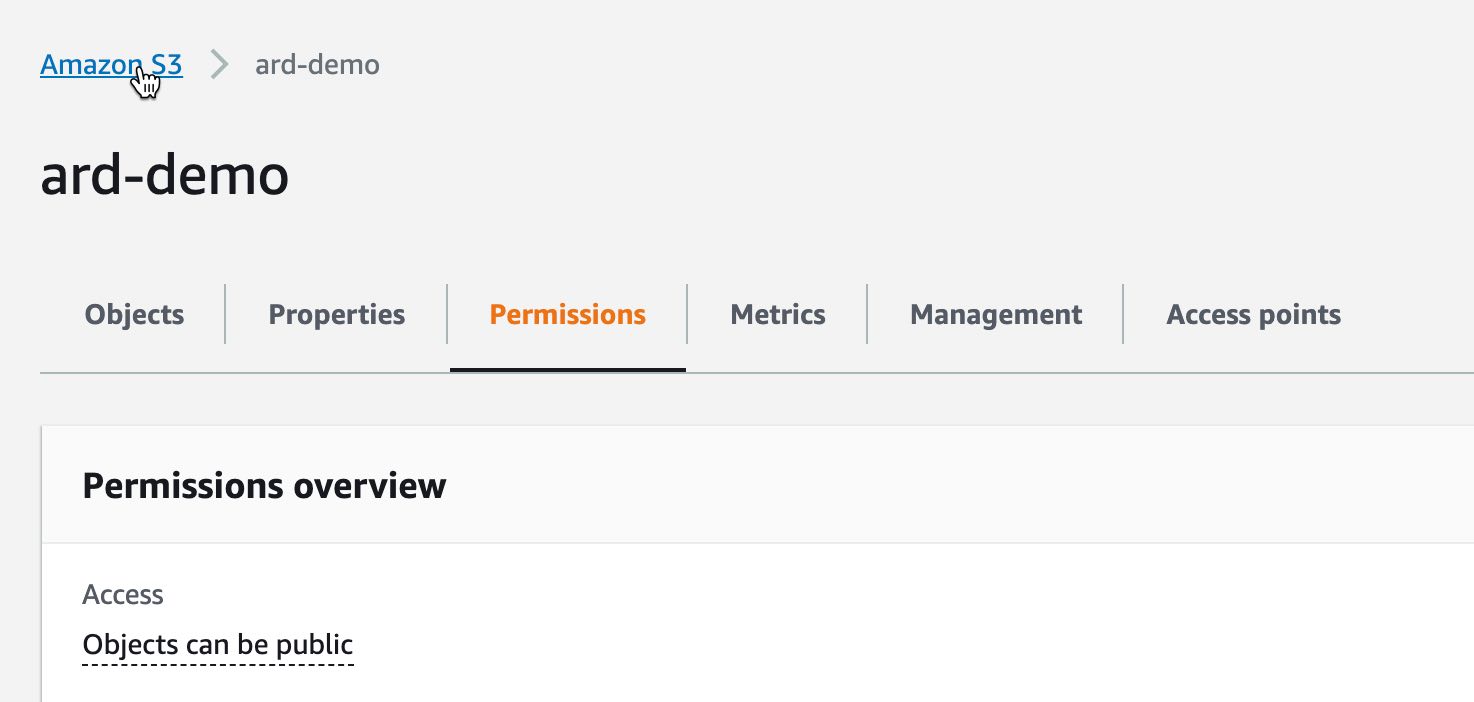
3. Select the Permissions tab. From here, scroll down to the "bucket policy"

4. From this document, copy the bucket policy example below to your clipboard.
To copy the bucket example, click the "copy" button in the top right corner of the example block.
Bucket policy example (copy this):
{
    "Version": "2012-10-17",
    "Statement": [
        {
            "Sid": "MaxarARDS3Access",
            "Effect": "Allow",
            "Principal": {
                "AWS": "arn:aws:iam::334489843805:root"
            },
            "Action": "s3:PutObject",
            "Resource": [
                "arn:aws:s3:::{your bucket name goes here}/*",
                "arn:aws:s3:::{your bucket name goes here}"
            ]
        }
    ]
}
5. From the AWS Console permissions tab, scroll to the "bucket policy" section and choose "Edit" to open the bucket policy box for editing.
6. Paste the example bucket policy from your clipboard into the bucket policy box, including all of the brackets.
7. Add your S3 bucket as the resource.
In the "Resource" section, replace the brackets and the content inside with your bucket name. In this example, 'ard-docs-demo" is the bucket name.
"Resource": [
    "arn:aws:s3:::ard-docs-demo/*",
    "arn:aws:s3:::ard-docs-demo"
8. Choose "save changes" from below the bucket policy box.
Note: The bucket policy only needs to be set up once per bucket. Any time you create a new bucket for ARD order delivery, set this policy on the bucket.
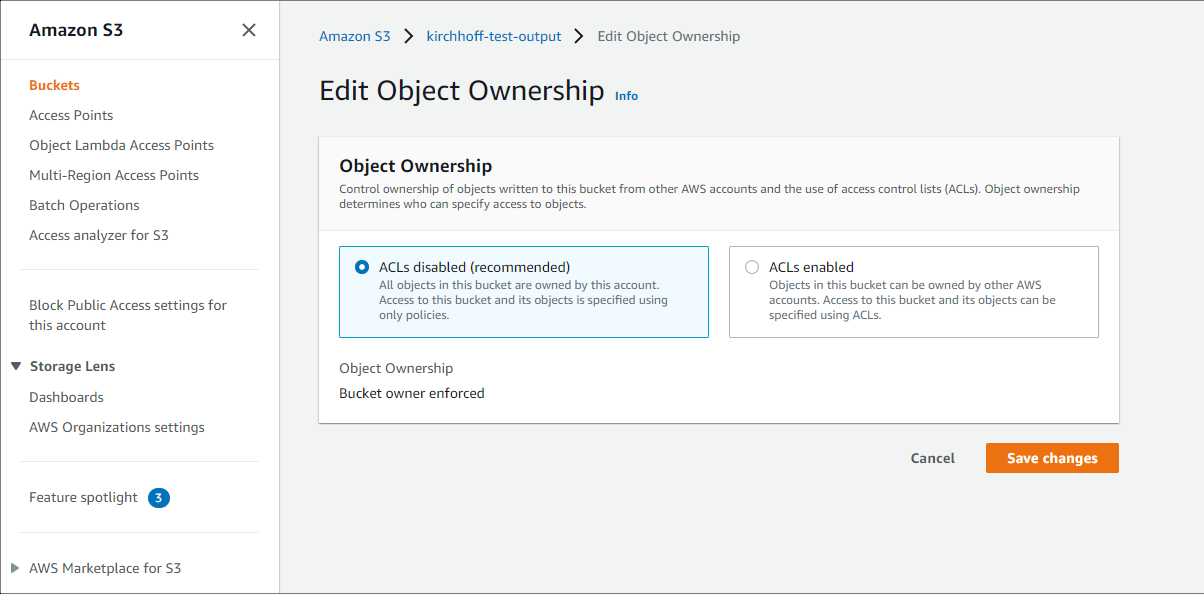
Object Ownership
Object ownership determines who has control of objects in the bucket. We recommend the default setting of ACLs disabled, bucket owner enforced.

Revoking Maxar's "write" access
Maxar's "write" access to the bucket can be revoked by either deleting or editing the policy.
The simplest way to revoke access is by deleting the policy.
However, there may be reasons to edit instead. For example:
-
You may have more than one policy statement in a bucket policy. Deleting it will delete all the statements in that policy. If you only want to remove access for Maxar, choose "edit" and then delete only the statement above.
-
You may only want to revoke Maxar's access temporarily. If you plan to revoke and reinstate access, you can edit the policy instead of deleting it and re-adding it.
Deleting the bucket policy
Next to the bucket policy block in the AWS console, choose "delete." This will delete the entire policy.
Editing the bucket policy
To edit the bucket policy, choose "edit" from the block in the AWS console.
-
If there are multiple access statements in your policy, and you want to retain the others, remove the policy that gives Maxar access and save changes.
-
If you want to revoke access without deleting the bucket policy, edit the "Effect" field value to say "Deny" and save changes. To reinstate access, change the value back to "Allow."
  "Effect": "Deny"
  ```
## Encrypted Buckets

If you are using encryption on your bucket with a private key, you will need to add the following policy:

``` {
            "Sid": "Grant decrypt to ARD account",
            "Effect": "Allow",
            "Principal": {
                "AWS": "arn:aws:iam::334489843805:root"
            },
            "Action": [
                "kms:Decrypt",
                "kms:GenerateDataKey"
            ],
            "Resource": "*"
        }